Whether your custom project is straightforward or highly complex, our in-house consultants will identify a process to suit your unique framing needs. Then, we’ll walk you through that process so you’ll know what the finished product will look like and when it will be completed.
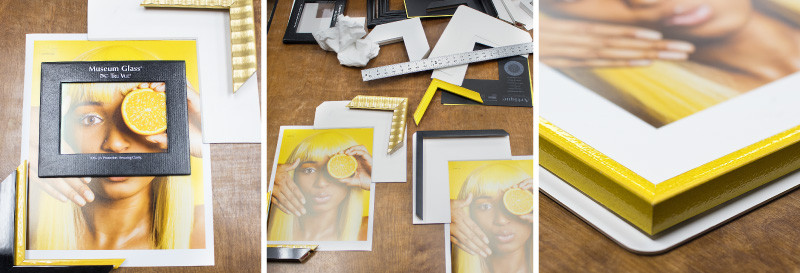
STEP 1: SELECTING MATERIALS
Working virtually on your own or in person with one of our Framing Design Consultants, you will select the size, moulding style, matte and glass to create the look and feel you want to achieve with your artwork.
STEP 2: DOUBLE-CHECKING OF ORDER
Once you’ve made your selections, the order slip is printed, and the measurements and design are reviewed by a second Frame Center Design Consultant to ensure accuracy. Once your order is verified, and your artwork is received or printed in-house at Frame Center, the final order will be confirmed. Next, a frame assembly slip will be created, and our team will begin the framing process!
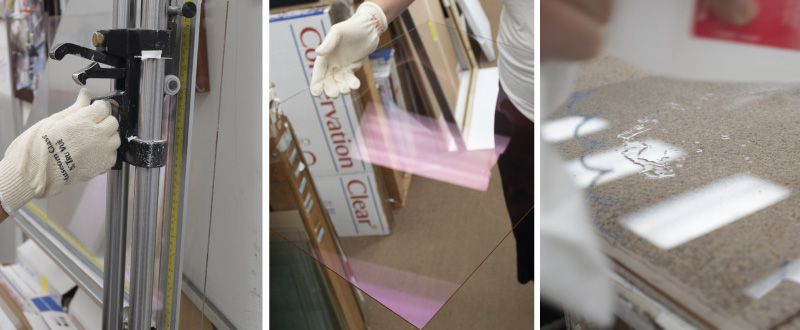
STEP 3: MAKING THE FRAME
With your frame assembly slip now at the framer’s station, your selected mouldings are carefully taken from their climate-controlled storage area and inspected for defects. They are then laid out to be cut to size.
STEP 4: MATTING AND MOUNTING
Depending on the requirements of your order, the artwork may be mounted to an adhesive board in our vacuum press, hinged with acid-free tapes, or simply backed with high-quality board.
STEP 5: GLAZING
Once the frame is assembled and the artwork has been properly mounted to specifications, it’s time to add your chosen glazing (glass). The selected glazing is cut precisely to fit perfectly in the frame; it’s then cleaned and placed over the artwork to await the frame.
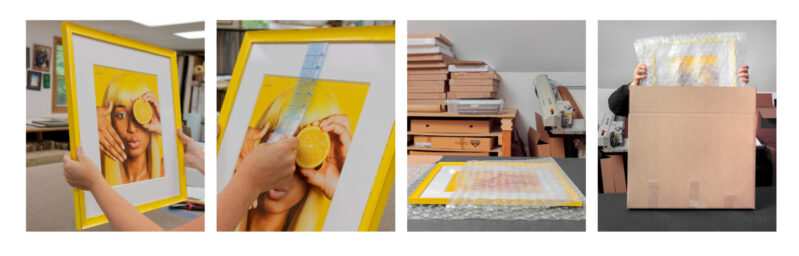
STEP 6: ASSEMBLING YOUR PROJECT
Your frame is assembled, and one of our framing experts will carefully add your artwork to the frame, ensuring that the fit is perfect, the alignment is precise, and the artwork and glazing are clean and without flaws.
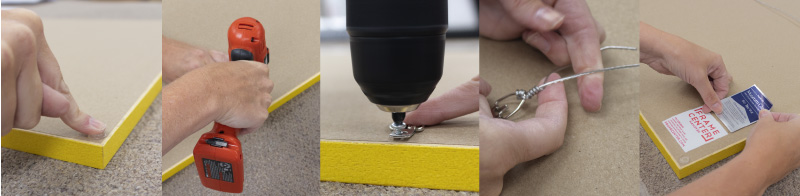
STEP 7: BACKING YOUR PROJECT
With the order now assembled and secured into the frame, another team member will conduct a final inspection. Once approved, the back of the project is sealed off and the appropriate hanging hardware is attached.
STEP 8: PACKAGING AND SHIPPING
Your completed project undergoes a rigorous final inspection process where it’s photographed and logged into our system. It is then either wrapped and carefully stored in our workshop for customer pickup, or it is meticulously wrapped and packaged for shipping to ensure that it arrives in pristine condition.