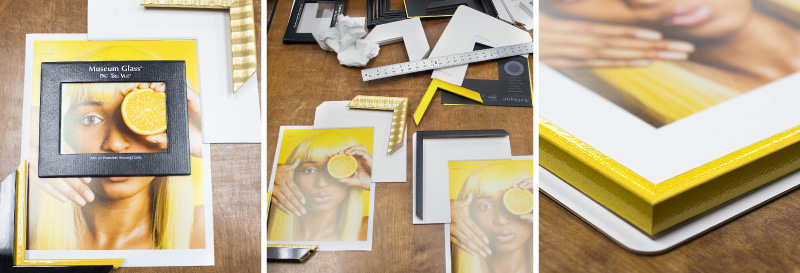
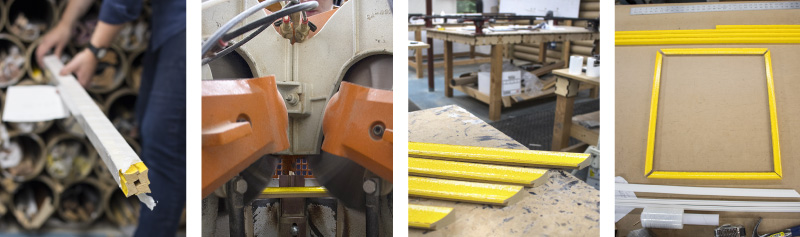
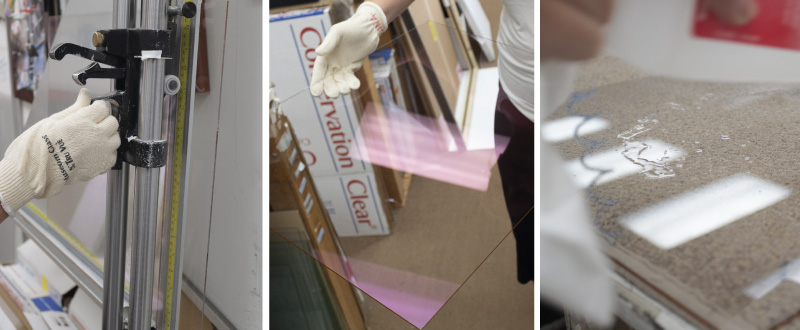
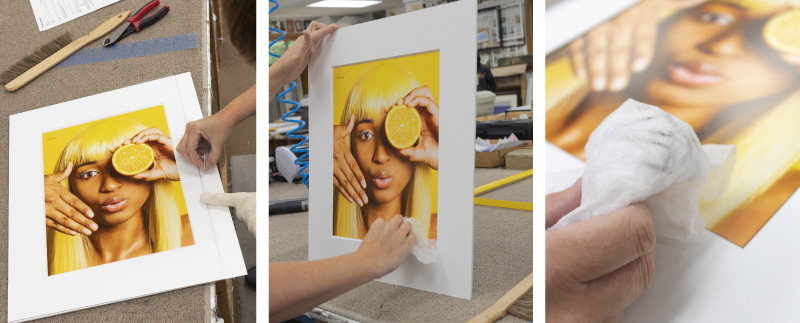
fbpx

Framing Process

THE FRAMING PROCESS

Here’s an overview of a “typical” process:

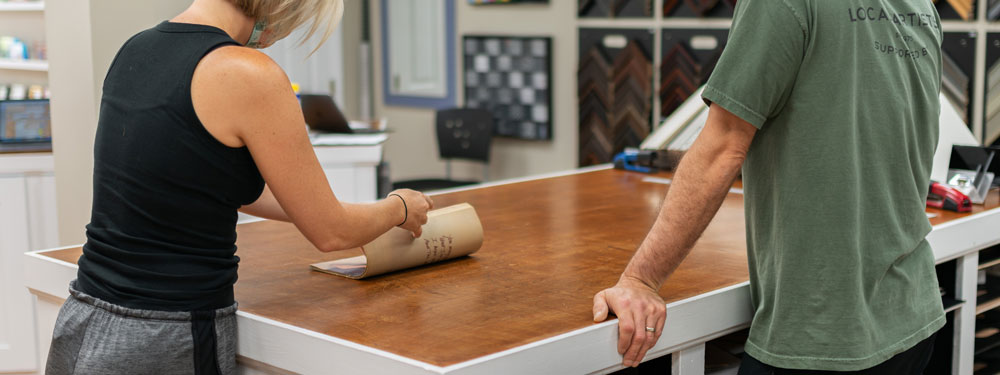
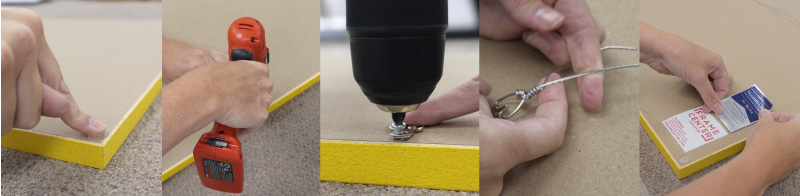
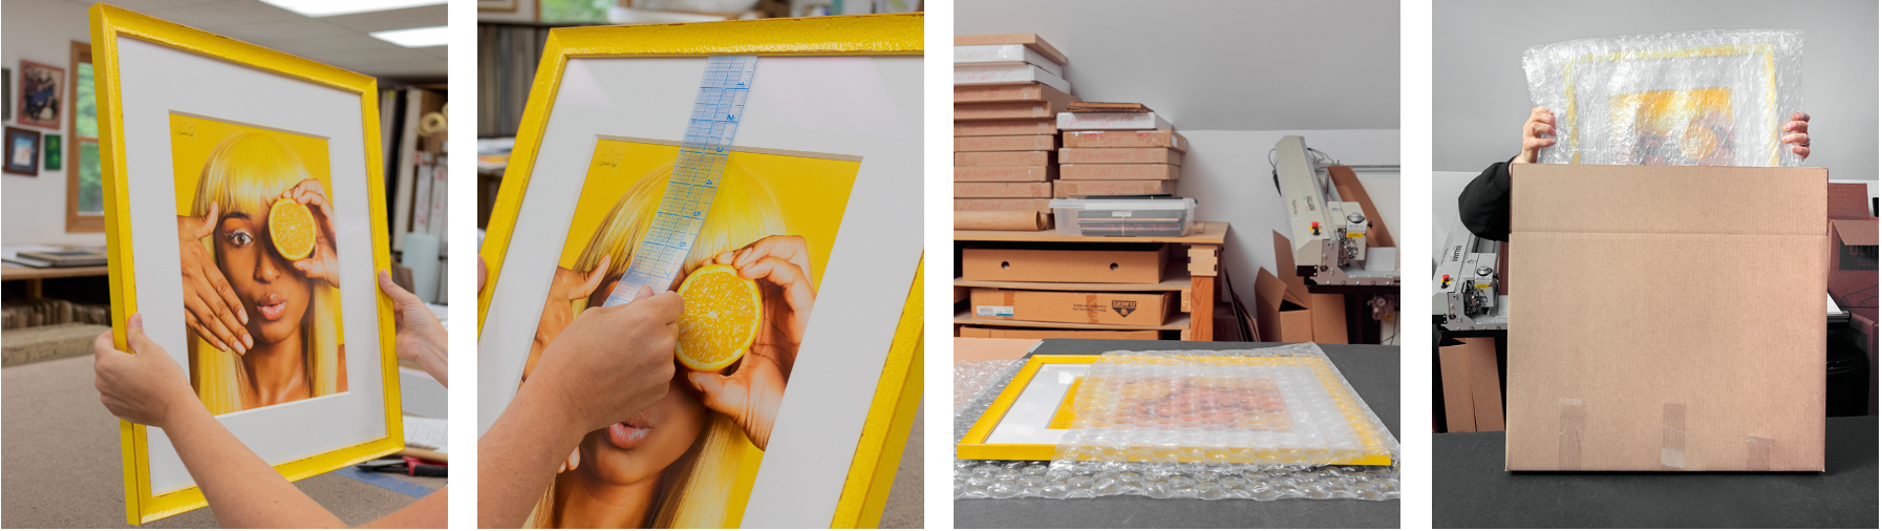
Custom framing can be a relatively straight forward process or a highly specialized, complex undertaking. Depending on the unique specifications of your framing needs, our in-house consultants will help you identify the process that’s right for your project. You can be certain that we will walk you through the process – from start to finish – ensuring that your expectations are met, and you know exactly what your finished project will look like and when it will be completed.

Step 1. Selection Process

Working virtually – on your own – or consultatively with one of Framing Design Consultants, you will make your selections for the look and feel you wish to achieve with your artwork, including size, moulding style, matte style and glass selection.

START FRAMING

Step 2. Double Checking of Order

Your order slip is printed, and the measurements and design are reviewed by a second Frame Center Design Consultant to confirm everything looks right. Once your order is completed and verified, and your artwork is received or printed in-house at Frame Center, the final order will be confirmed. If there is an issue, a Frame Center team member will give you a call. If everything looks good, a frame assembly slip will be created, and our team will get right to work on the framing process!

Step 3. Frame is made

With your frame assembly slip now at the framer’s station, your selected mouldings are carefully taken from their climate-controlled storage area, they are inspected for defects, and they are laid out to be cut to size.


Using latest, state of the art equipment available in the framing industry, your four moulding cuts are carefully prepped, glue is applied, and they are assembled by our master framers. Finally, they are securely joined with our underpinning machine.

Step 4. Matting and mounting

Depending on the required mounting for your unique order, the artwork may be mounted to an adhesive board in our vacuum press, hinged with acid free tapes, or simply backed with the high-quality board.

Step 5. Glazing

Once the frame is assembled and the artwork has been properly mounted to specifications, it’s time to add your chosen glazing (glass). The selected glazing is cut to the precise size of your project to fit perfectly in the frame, cleaned and placed over the artwork to await the frame.

Step 6. Assembling Your Project

Your frame is assembled, and now one of our framing experts will carefully add your artwork to the frame, ensuring that the fit is perfect, the alignment is precise, and the artwork and glazing are clean and without flaws.

Step 7. Your Project is Backed

With the order now assembled and secured into the frame, the order is handed over to another member of the team for final inspection. Once that is finished the back of the job is then sealed off and the appropriate hanging hardware is attached.

Step 8. Packaging and Shipping

Your completed project goes through our rigorous final inspection process where it’s photographed and logged into our system. At this point, it is either wrapped and carefully stored in our workshop for customer pickup, or it is meticulously wrapped and packaged for shipping to ensure that it arrives at your door in pristine condition.

START FRAMING