Stars and Stripes Forever
Heading into summer each year, we as Americans experience a renewed sense of patriotism. Memorial Day, the unofficial kickoff to the summer season, is often the first time we in New England unfurl our American Flag after a long winter. With Flag Day and then 4th of July following quickly behind, the stars and stripes are everywhere you look. Some buy new flags or bunting annually, while others display the same cherished banners year after year to mark family traditions.
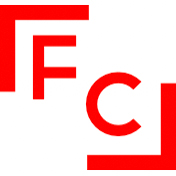
Sometimes those flags that have witnessed every 4 th of July celebration as far back as you can remember start to show their age, but for sentimental reasons you may not want to retire them. The best way to continue displaying Old Glory without worrying about further damage is to frame your favorite flag. These flags may be tattered by wind or faded from the sun, but they gain a distinguished, nostalgic look when mounted on a fabric mat board. The addition of special glazing that hinders glare but provides UV protection helps preserve the flag’s material in its current state at the time of framing. Now the flag can be displayed year-round without the threat of further deterioration.
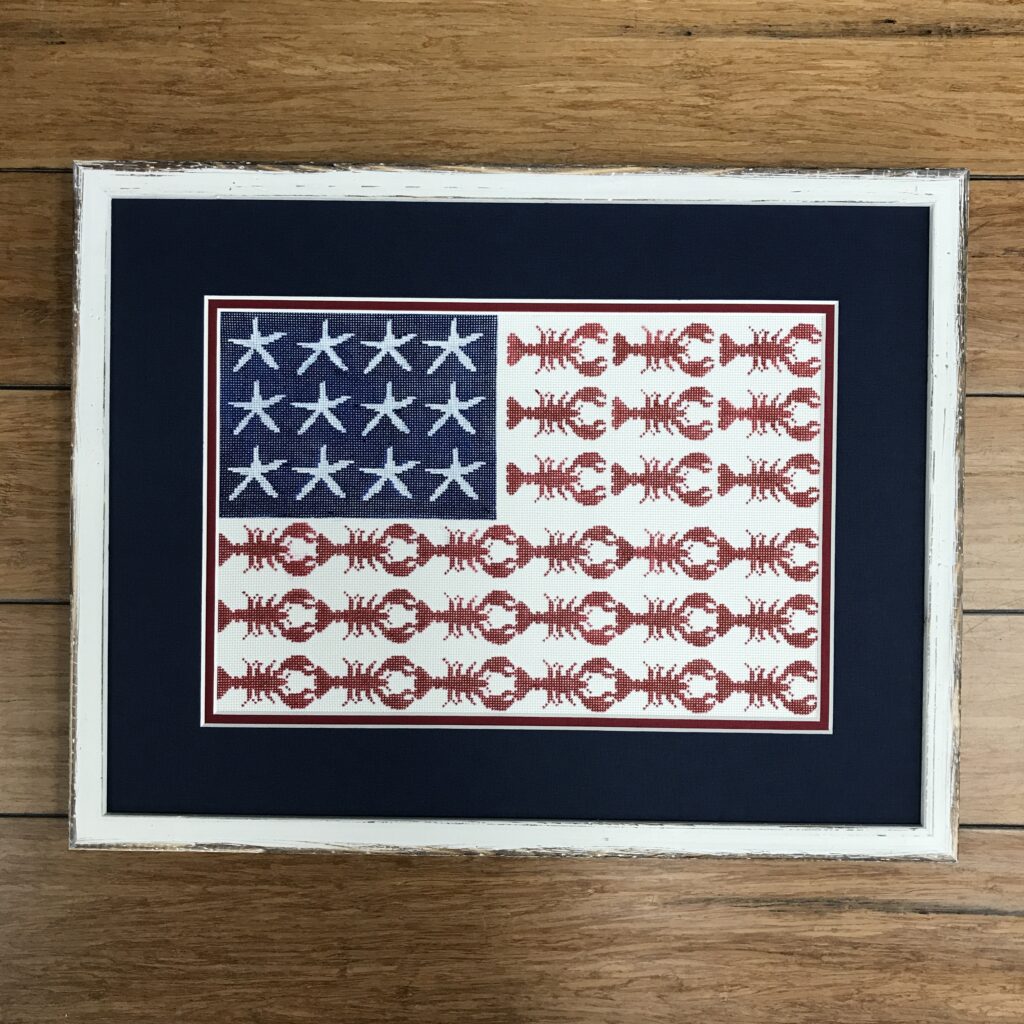
Or your beloved flag might be one that was never flown at all but presented to commemorate a loved one’s service to our country. Funeral flags carry the burden of loss while also celebrating the most patriotic act of serving one’s country. These honorable flags are often placed in a triangular frame to accommodate the way in which they are folded. However, these frames which can be bought online or at a craft store, do not properly protect the material from natural aging. At Frame Center we do not offer this type of framing because our equipment cannot cut the correct angles, but we can create a mat with the appropriate triangular shape and build a frame to the proper depth. In addition to the flag, we can incorporate other military memorabilia, such as dog tags, medals, certificates, or names and dates to create a more complete keepsake.
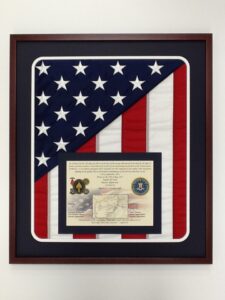
Military tribute flags are also more than worthy of framing. These flags are flown during combat missions and are presented to an individual or organization along with a certificate authenticating the type of aircraft on which it was flown and during which mission. Framing such a flag is the best way to honor the bravery and heroism of the crew who carried out the mission. Frame Center has had the honor of preserving many of these symbolic flags along with the accompanying certificates. It is one small way to pay tribute to those who risked everything to protect our freedom.
So, whether framing a flag for historic preservation or to memorialize a loved one’s service, Frame Center will help you achieve something truly special. Our design consultants take exceptional care when handling those things that you hold dear. The result will stir feelings of patriotism, pride, and immense gratitude that words cannot fully express. We are honored to help you pay tribute in this way to our country and those who serve it.